
Smart Film Retrofit Checklist: 7 Top Steps (2026)

Switchable smart film retrofits ship clean when the install runs through a disciplined checklist before glass-prep day. They ship rough — bubbles, control flicker, driver-placement issues, missed integration scope — when teams skip the checklist and figure it out on install day. The seven steps below are the pre-install checklist we run on every LA-area job, and they catch roughly 80% of the issues that surface as service calls in months 2–18 post-install.
This guide walks the seven smart film retrofit checklist steps we recommend every homeowner, facilities manager, or tenant-improvement scope owner work through before glass is ordered. Each step comes from real installs we’ve shipped (and rescue calls we’ve worked) across LA-area residential and commercial projects in the last 12 months.
Why a Written Checklist Beats Improvising on Install Day
Most install-day surprises trace back to decisions that should have been made during the consult and site measure — control path, driver location, glass-prep timeline, integration scope. The seven steps below front-load those decisions so the install day itself runs clean. The cost of running through the checklist is roughly 30–60 minutes of consult time; the cost of skipping it is typically a service call within 6–12 months.
The seven steps below are the ones we walk every prospective buyer through on the consult.
The 7 Steps, in Order
- 1. Confirm glass condition and existing treatment. First on the checklist. Switchable film bonds best to clean, untreated glass. If the existing glass has tint film, sun-control film, or frosted vinyl already applied, plan removal as a prep step before switchable-film install (or evaluate whether full glass replacement is more sensible than retrofit). During the same check, record actual glass dimensions (not frame dimensions) and confirm the glass type — single-pane vs IGU vs laminated — since the film is cut to the glass, not the opening. Skipping this step leads to delamination or muddy optical effect within months.
- 2. Decide the control path before site measure. Pick the control surface — wall switch, smartphone app, smart-home integration (Lutron, Savant, Crestron, Alexa, HomeKit) — during the consult, before the electrician shows up. The right cable gets pulled on the first visit instead of a second cable run later. If new wiring is needed, have the electrician pre-run the control leg to the chosen switch location before film day — doing it after means opening drywall on a finished surface twice. Smart-home integration is dramatically cheaper to plan up front than to retrofit after install.
- 3. Identify the driver location and confirm long-term accessibility. The low-voltage driver has to live somewhere — cabinet, ceiling cavity, utility closet, AV rack. Identify the driver location during the site-measure walkthrough and confirm the chosen spot stays accessible for service over the install’s 10+ year lifespan. A rushed install plants the driver wherever’s convenient on install day, often in a spot the homeowner or facilities team can’t reach later.
- 4. Plan glass-prep time generously. A quality install allocates more time to glass prep than to film application — that ratio surprises most clients but it’s how clean installs ship. Clean-room standards on the interior glass face: alcohol wipe-down, microfiber cloths, controlled environment during application. Dust, residue, or trim caulk anywhere near the install zone causes delamination later. Rushed prep is the leading cause of edge-bubble service calls in months 2–6.
- 5. Confirm product grade and warranty in writing. Three product tiers exist: cheap online kits (12–24 month lifespan), mid-grade PDLC (4–6 years), warranted professional film (10+ years). The cost gap is roughly 1.5–2× across tiers; the lifespan gap is 5–10×. Confirm which grade is being installed and get the warranty in writing — both manufacturer warranty and installer’s labor warranty.
- 6. Brief end-users on default-state behavior. Switchable film defaults to frosted on power loss (the “normally opaque” state). Add a one-paragraph note to the user welcome materials explaining the behavior — most users actually appreciate the default-to-private behavior once it’s explained, but unbriefed users call it in as a malfunction. First time the power flickers, the windows quietly frost over and an unbriefed client thinks the system is broken. This single piece of documentation eliminates roughly 30–40% of post-install service tickets.
- 7. Schedule a 60-day post-install walkthrough. The last step on the list. Most install-side issues that surface (edge bubbles, control flicker, driver buzz) appear in the 30–90 day window post-install. Scheduling a 60-day walkthrough catches issues while they’re still under install warranty and before they spread. Quality installers welcome this step; it reduces their service-call load and improves customer satisfaction.
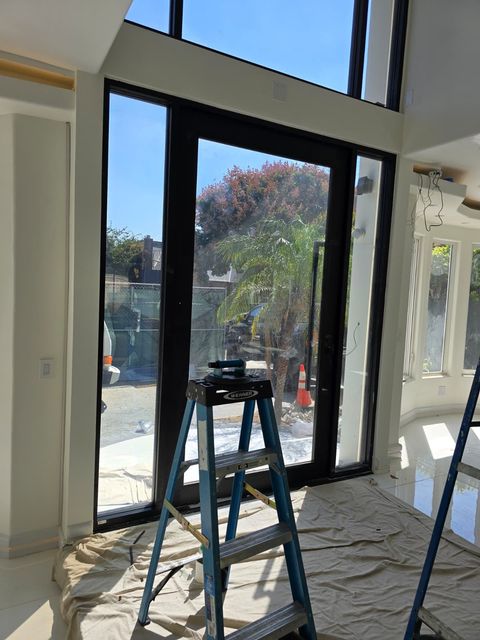
For technical context on the underlying switchable-film technology that determines product behavior across the seven checklist steps, see our smart film PDLC page — covers the spec details that drive product reliability over the install’s lifespan.
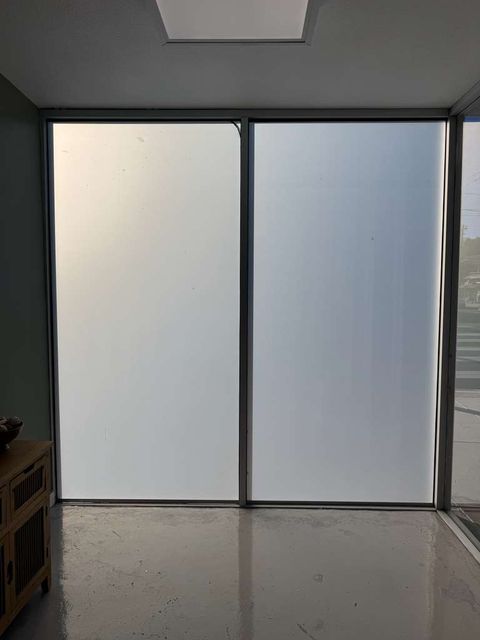
What the Retrofit Timeline Looks Like Once the Checklist Is Done
With the checklist worked through, a typical LA-area retrofit runs on a roughly 8-day timeline. Day 1 is the site measure, where glass dimensions, glass type, and the control location get documented on the site sheet. Days 2–5 cover the material order and clean-room cut — film is cut to glass dimensions in a controlled environment, with bus bars and tabs prepped on the panels before they leave the shop (custom curved or circular shapes require additional templating time at this stage). Days 5–7 are the electrical pre-run if new wiring is needed. Day 8 is install day: glass prep, film application, control tie-in, and final test all happen the same day, with the installer toggling the glass multiple times on site to confirm transition speed and uniformity before walking the homeowner or office manager through care behavior and warranty terms.
The cleanest timeline example we’ve shipped is a French-door retrofit in Los Angeles — existing single-pane French doors, all seven checklist steps run clean across the 8-day timeline, install completed in a single day with wall switch + smartphone app pairing. Full project breakdown: smart glass French doors in Los Angeles. For city-specific install notes across the LA metro, see our overview of smart film installation in Los Angeles.
Where the Checklist Pays Back Most Clearly
The checklist pays back fastest on three project types where install-side errors are most expensive to recover from:
- Multi-glass residential projects (3+ glass surfaces). Same install error repeated across multiple surfaces becomes a substantial debugging exercise. Working the checklist once catches issues that would otherwise repeat across the project.
- Class A commercial projects with BMS integration. Control-path errors are particularly expensive on BMS-integrated installs because retrofitting Crestron/Lutron/Savant integration after install requires re-pulling cable. Step #2 alone often pays for the entire checklist exercise.
- Custom-cut switchable-film projects with brand marks or shaped cuts. Shape-cut and brand-mark installs leave less margin for installer error — the checklist’s prep discipline directly reduces visible-defect risk on these higher-stakes installs.
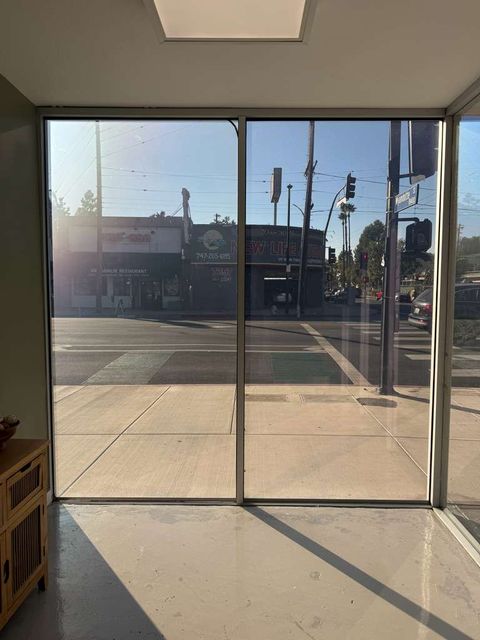
How the Discipline Compounds Across a Multi-Project Portfolio
For homeowners or property managers planning multiple switchable-film projects across 12–24 months, running the checklist consistently across all projects compounds in two ways. First, the installer learns your spec preferences and warranty expectations on the first project; subsequent projects ship faster because the relationship is already calibrated. Second, the post-install walkthrough cadence (step #7) catches systematic install-side issues before they propagate across the portfolio.
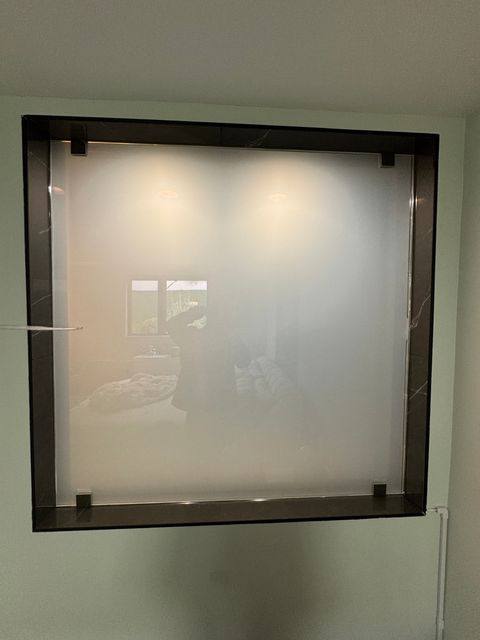
This is one of the patterns we see most often on Class A commercial portfolios and luxury-residential property managers — one trusted installer, repeated scope, fewer rescue calls because the same checklist runs consistently.
A Pasadena Bathroom Reference
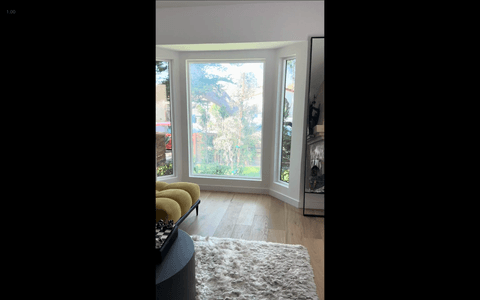
The cleanest example of the full checklist applied end-to-end is a Pasadena bathroom-window install we shipped this year. All seven steps ran in sequence: glass-condition confirmation (step #1), control-path decision before site measure (step #2 — wall switch + smartphone app), driver placement in an accessible cabinet (step #3), generous glass-prep time (step #4), professional-grade PDLC with warranty in writing (step #5), homeowner brief on default-state behavior (step #6), and 60-day walkthrough that confirmed clean operation (step #7).
Full project breakdown: smart glass on a Pasadena bathroom window — single residential scope, full checklist applied.
Planning a Smart Film Retrofit?
If you already have the glass, send a few photos and rough measurements and we can scope most of this remotely before anyone visits. Reach us through the contact page and we will come back with the spec we would recommend and what it would cost.